
Let’s take a look at the simple assembly steps for the best air bike available right now: the Rogue Echo Bike from Rogue Fitness.
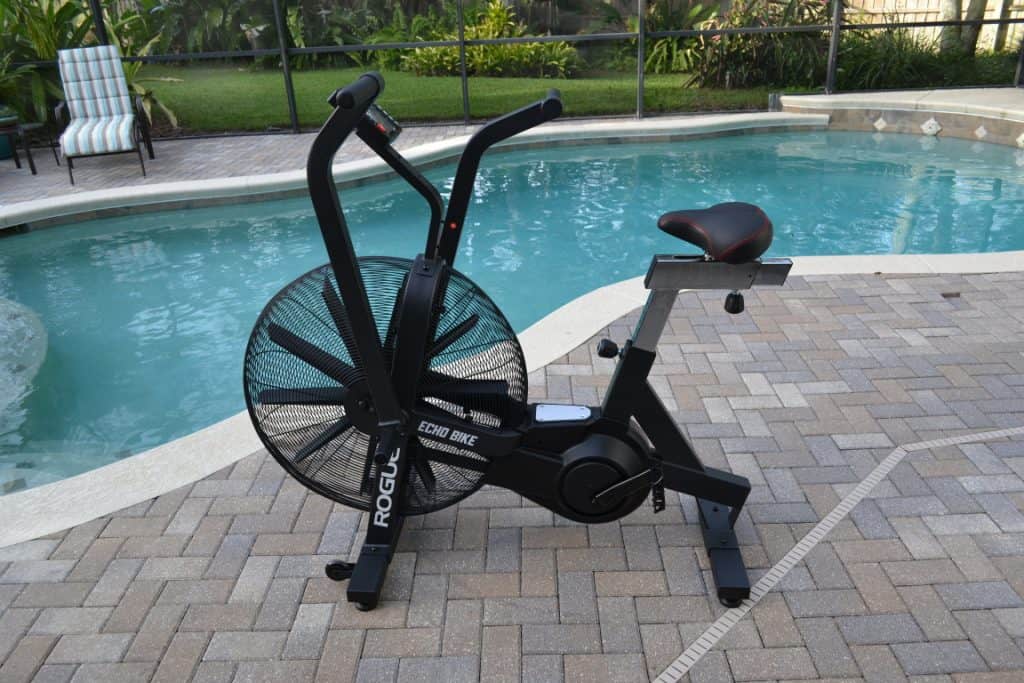
Rogue Fitness entered the fan bike market recently with this model – and what they’ve built is one solid, smooth belt driven fan bike.
How hard is to assemble this thing?
It’s a piece of cake – there are actually only a handful of bolts, washers, and screws.
The instructions are excellent – easy to follow, and complete.
You can assemble the Rogue Echo bike in about 20 minutes, and it includes all the tools required.
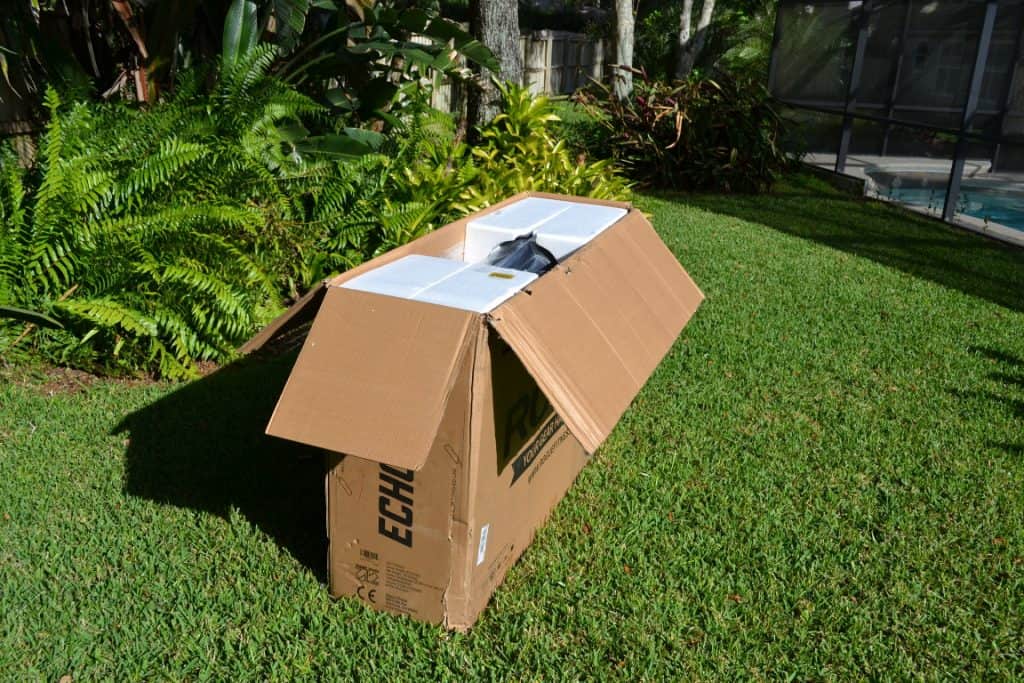
Rogue Echo Bike Packaging and Assembly
This overview is meant to give you an idea of how easy it is to setup your new Rogue Echo Bike.
The included assembly instructions go into great detail that isn’t necessary here.
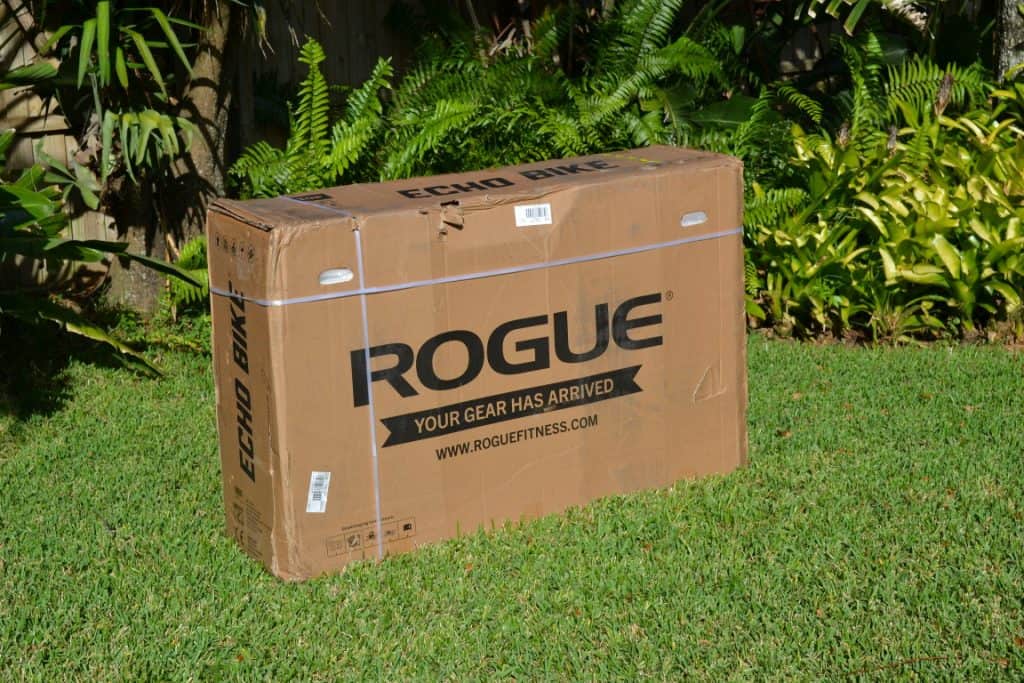
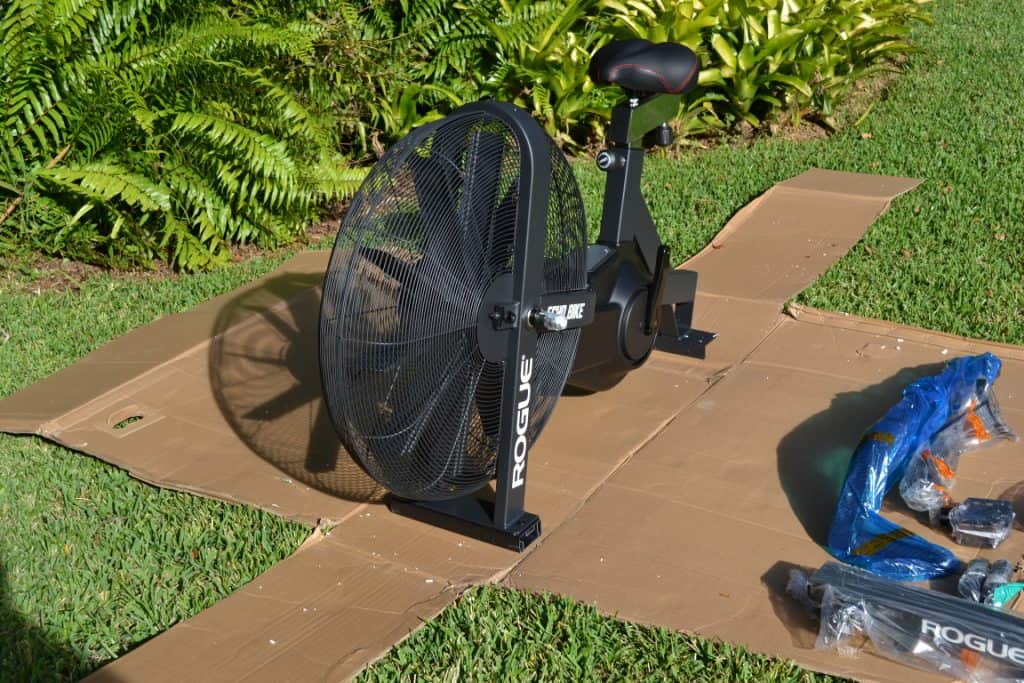
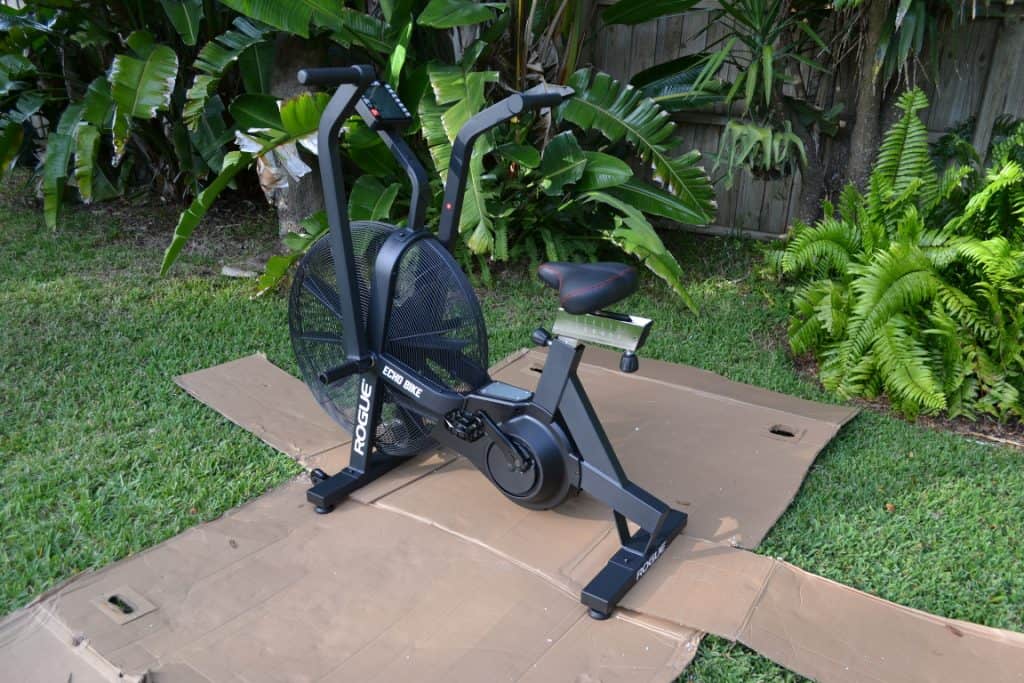
Here’s how the Echo Bike comes packaged – a robust container with plenty of styrofoam. The Gross Weight listed on the box is 67.5 kgs, or about 148 lbs. I believe them.
It’s awkward to move, but there are convenient hand holds on both ends of the box. Moving the box is a two person job.
Marked on the outside of the box are the first instructions – simply cut down the corners with a razor.
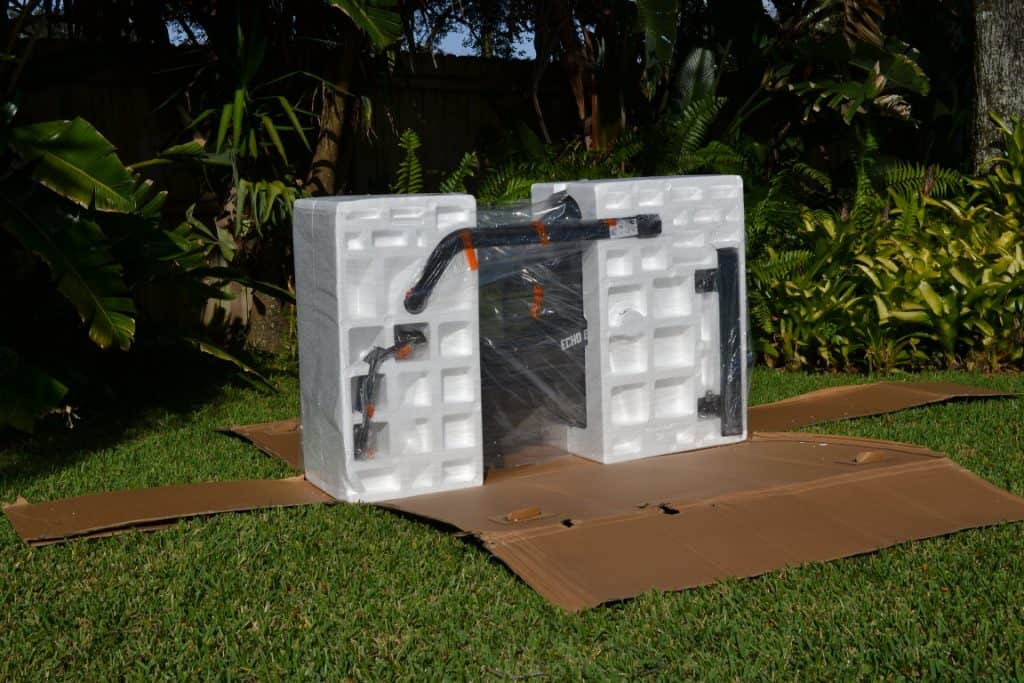
We mentioned all the tools needed for assembly are included – a screwdriver, hex key, crescent wrench, and all the bolts, washers, and nuts needed.

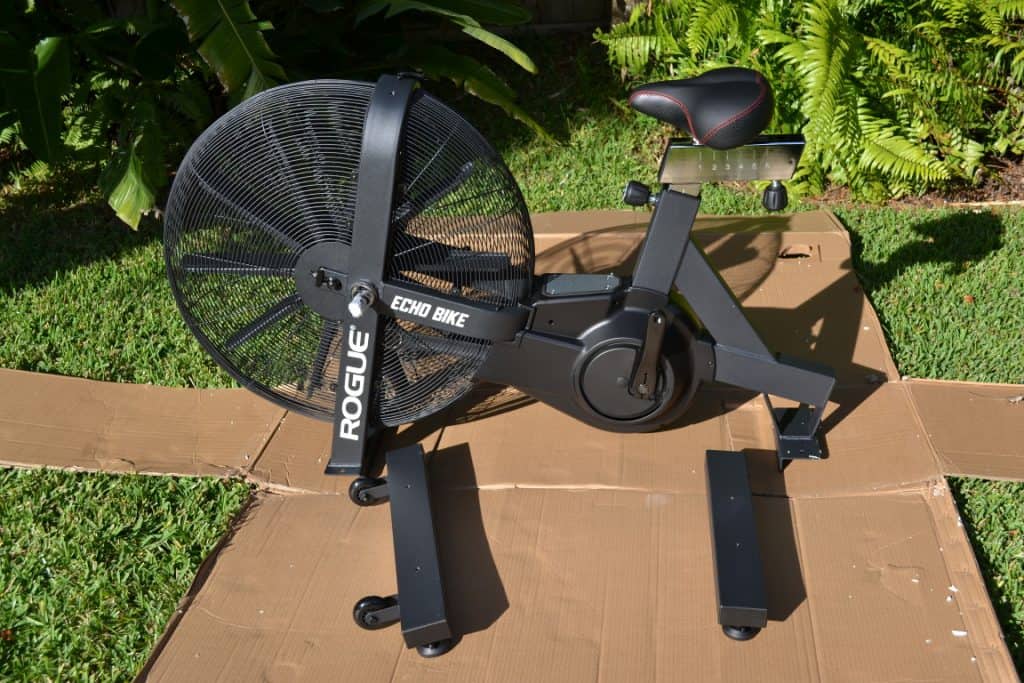
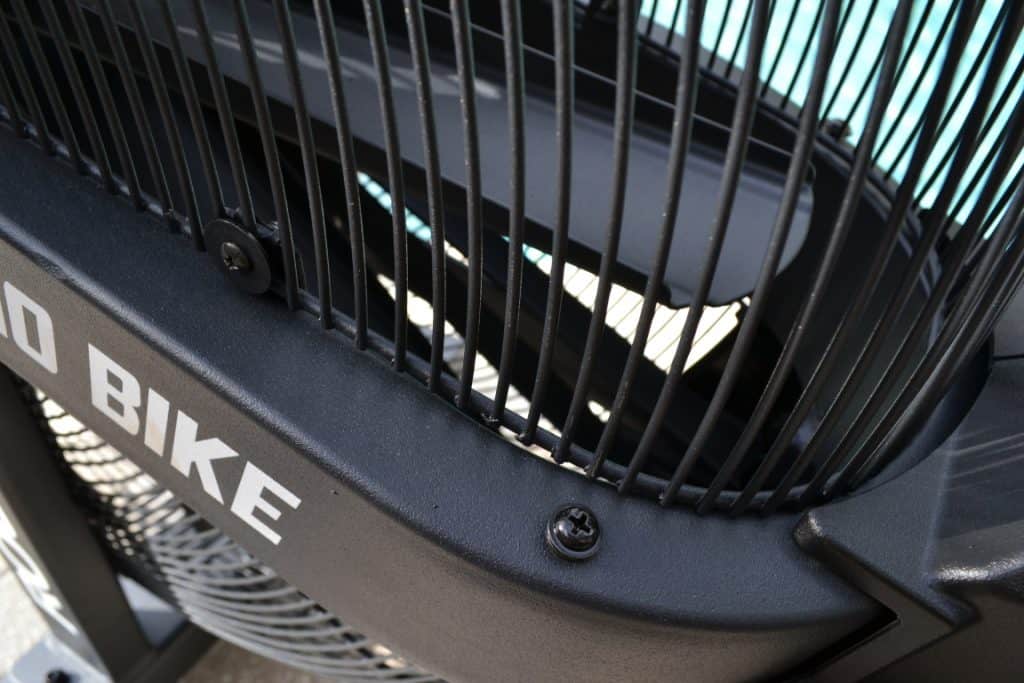
There’s not too many parts, as you can see Rogue has done the vast majority of the assembly for us.
Also included are assembly instructions and a user’s guide. The assembly instructions are English only, but extremely well done.
The first assembly instructions include removing (and discarding) a temporary shipping support tube (not shown here). Then, you install the base front foot and base rear foot. Rogue Fitness Logos should face out, on both ends.
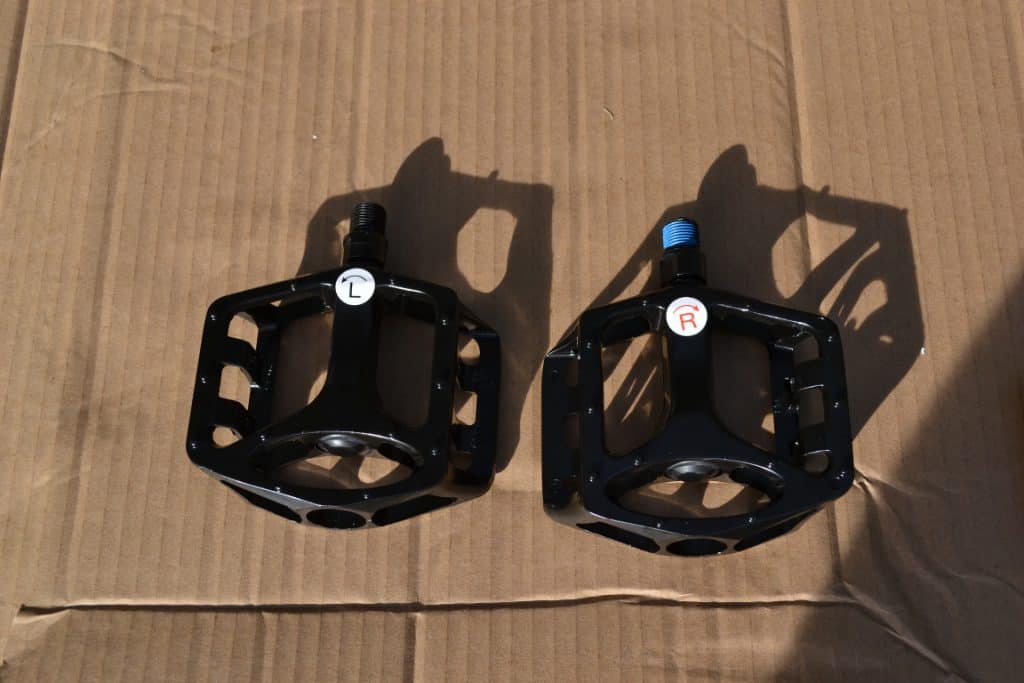
Pedals are a simple bolt on using the provided wrench. The left pedal is tightened by turning counter-clockwise. You can see they are clearly marked Left and Right.
The console mounting arm is next. There is a cable that runs through this part, and it needs to be attached to the console on the top (later) and another cable above the fan. Rogue has conveniently used twist-ties to keep the cable from disappearing into the mounting arm.
The only caution is to avoid squishing the cable when tightening things down.
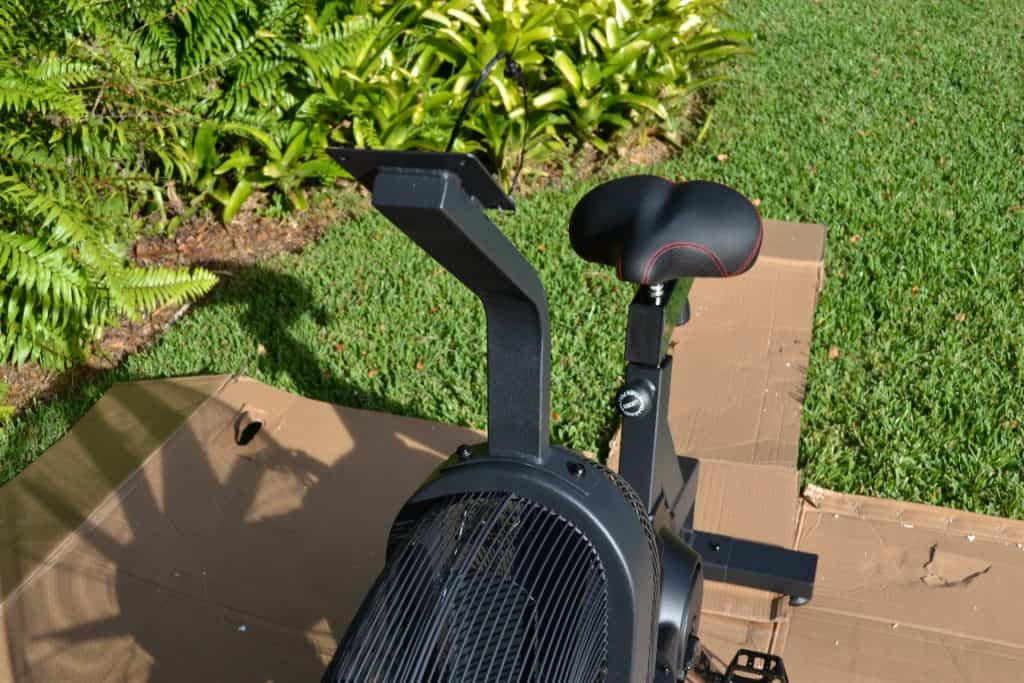
The four screws used to secure the console to the console mounting arm are actually already in the console. The instructions are very clear about this. Two AA batteries are also included for the console.
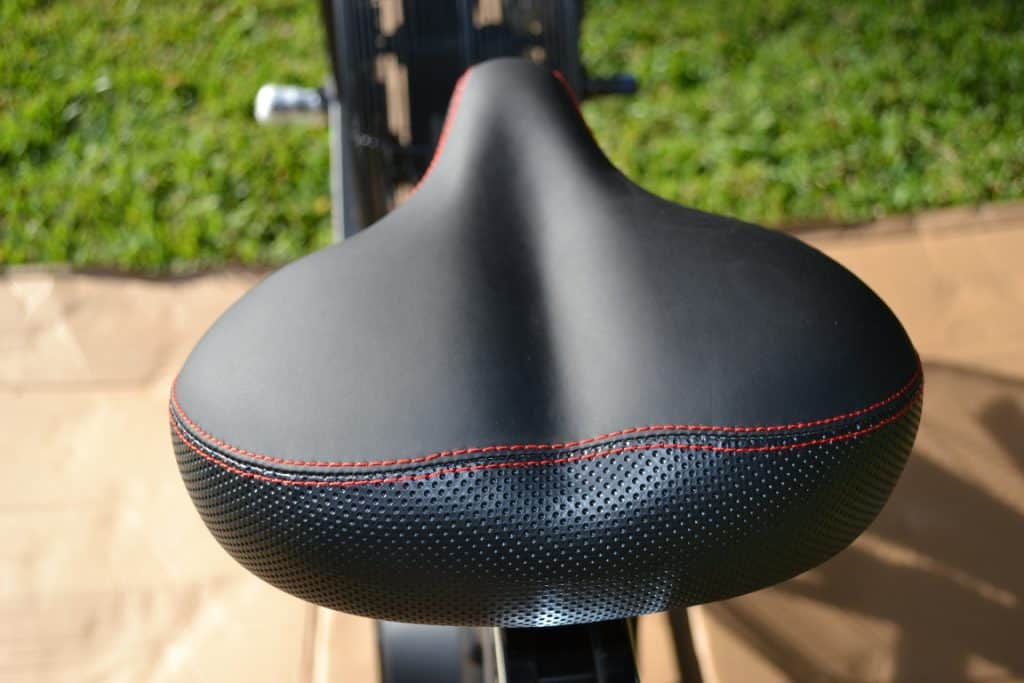
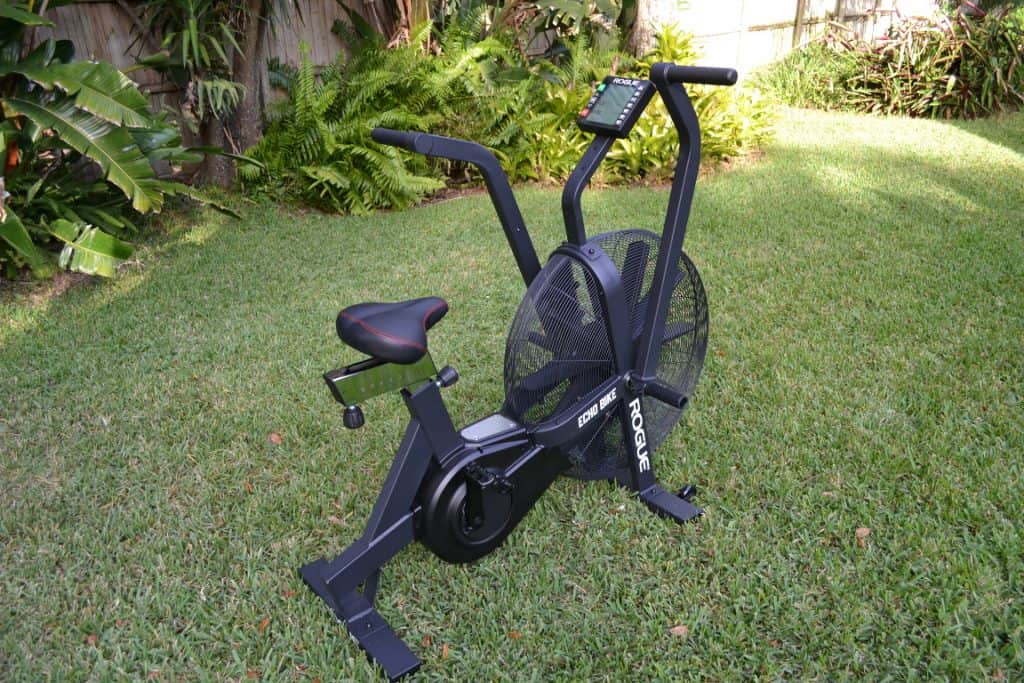
The seat for the Rogue Echo Bike (or saddle, as bikers call it) is already installed. But here’s a close-up. It’s quite comfortable.
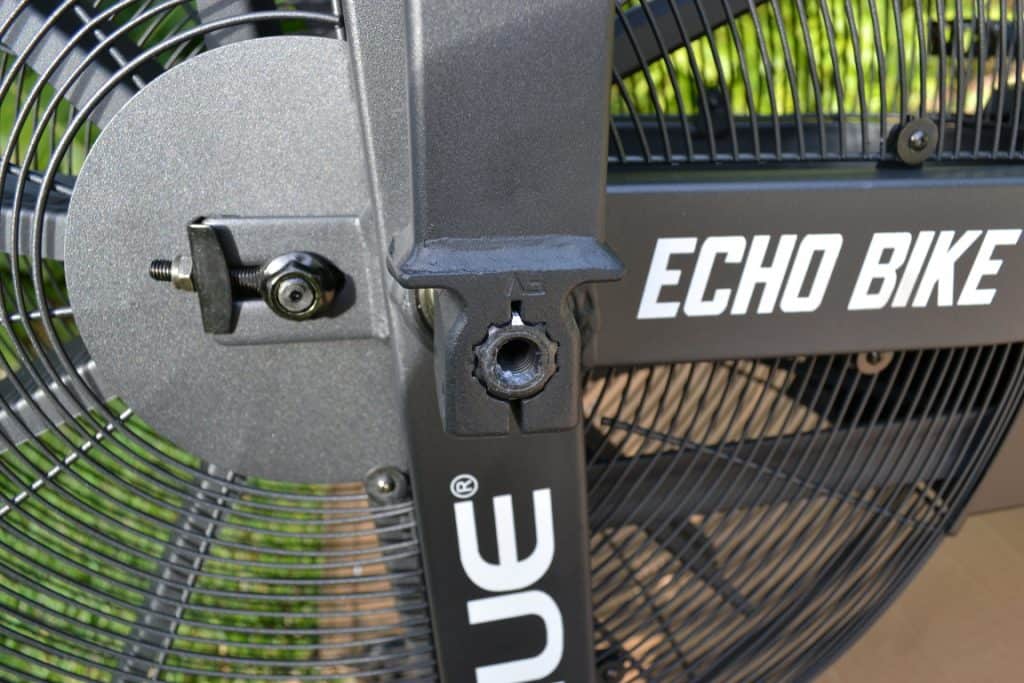
Next is the installation of the left and right handle. This is quite easy. Rogue has clearly marked how the handle is to be installed. There is a spline on the spindle highlighted in white. Simply line that up with the slot on the handle and insert fully.
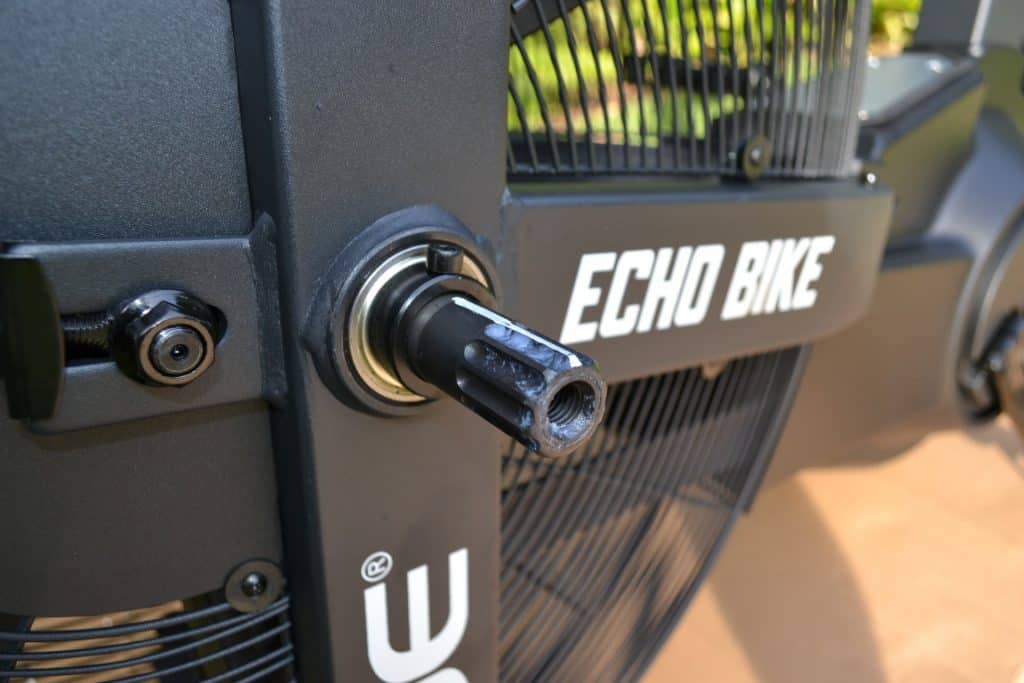
After that, it’s a simple matter of attaching the foot pegs on both sides and then securing the handles using the remaining 4 bolts.
Rogue Echo Bike – Quality
How is the quality?
It’s excellent, as you’d expect from Rogue Fitness.
The black powder coat is flawless all over – no scratches, no dings.
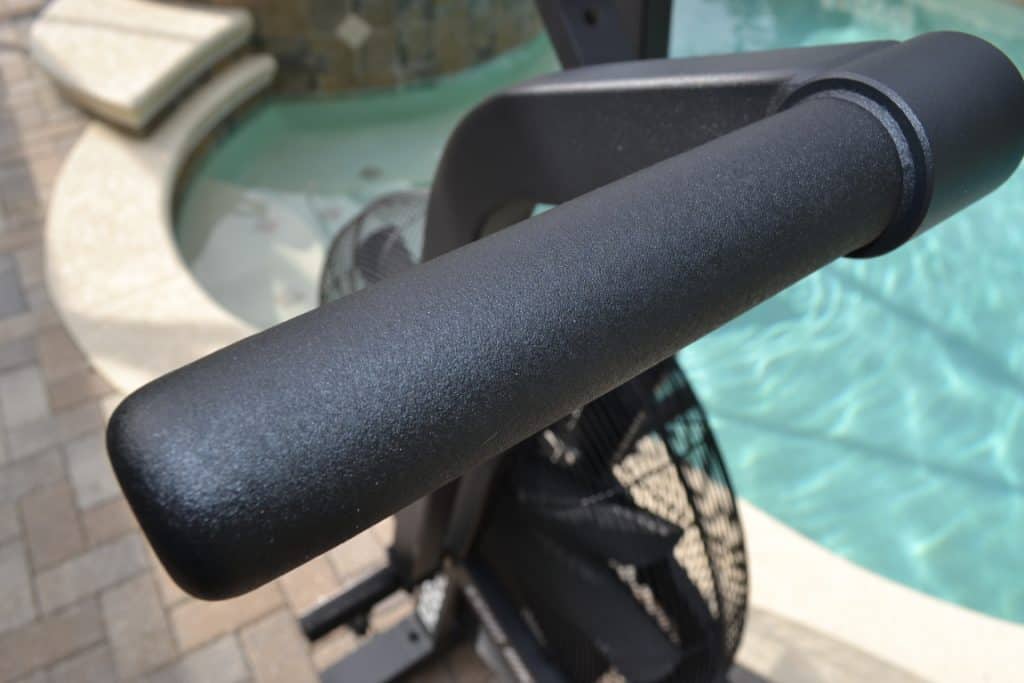
The rubber handgrips on the handle are tough and grippy. These won’t wear out anytime soon.
The product labels are all applied correctly. Not a big deal, but there’s a low cost equipment manufacturer that is notorious for missing labels, upside down labels, etc.
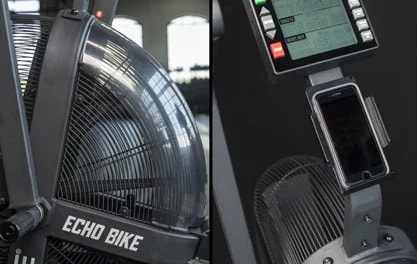
Here’s the fan. You can see the wide paddles that provide the air resistance that makes the air bike magic happen.
You can also see the foot pegs – rest your feet here is you want to use upper body only.
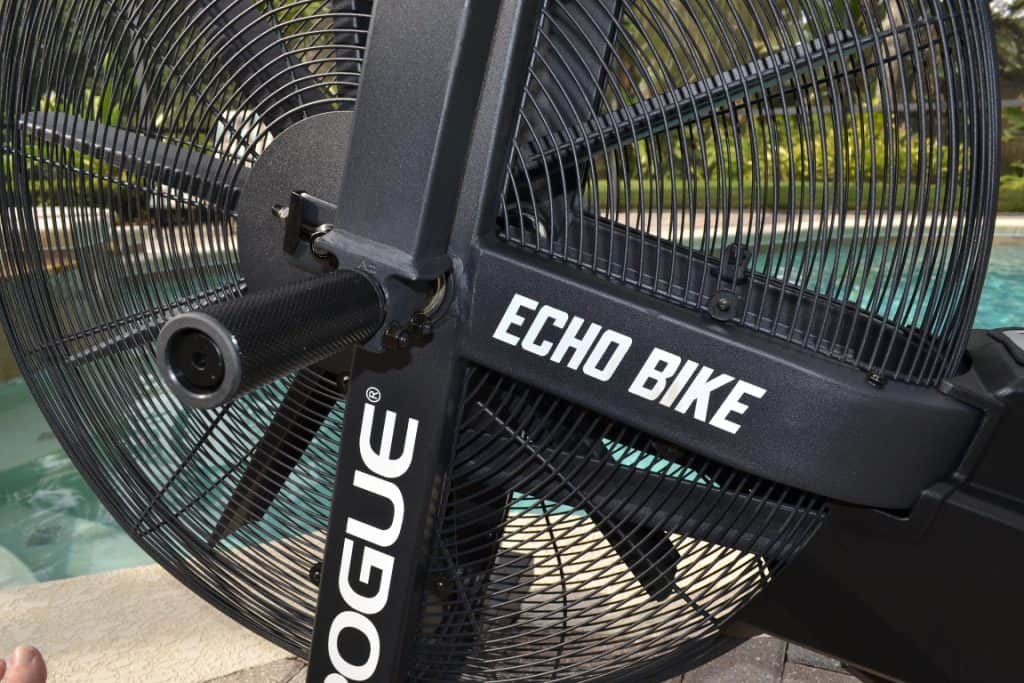
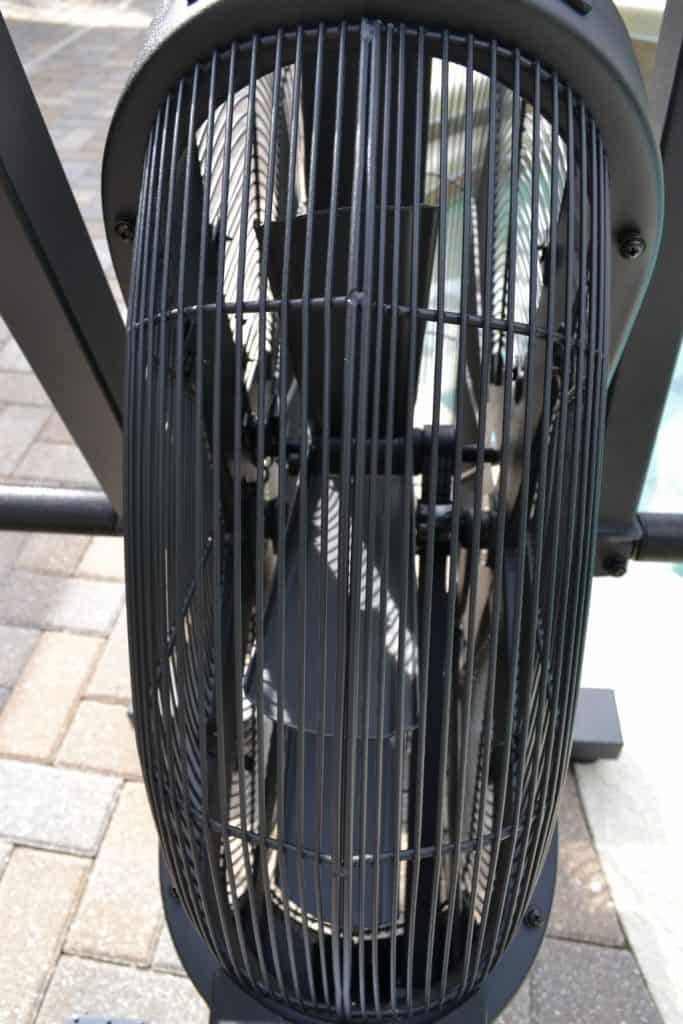
Does this create a lot of wind? Yes. It’s not really bothersome in the outdoors of Florida. Your mileage may vary. A wind guard is available, but not shown here.
There’s really no sound beyond that of the fan. The belt drive mechanism that is used is silent and maintenance free. The amount of fan noise varies based on how fast you are going. It’s not unpleasant.
Rogue claims this beast of an air bike is overbuilt – and we’d agree.
It was not easy to move out of the yard – but only because the wheels don’t work so well in deep grass.
Moving it around on a normal surface was a piece of cake. Simply lift up the back-end and roll it on the wheels.
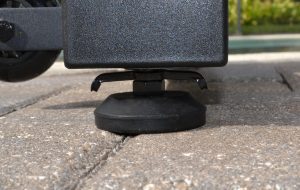
The leveling feet are a nice grippy rubber, and are easy to adjust quickly to get things level. This was particularly important for the paver surface you see in the photos.
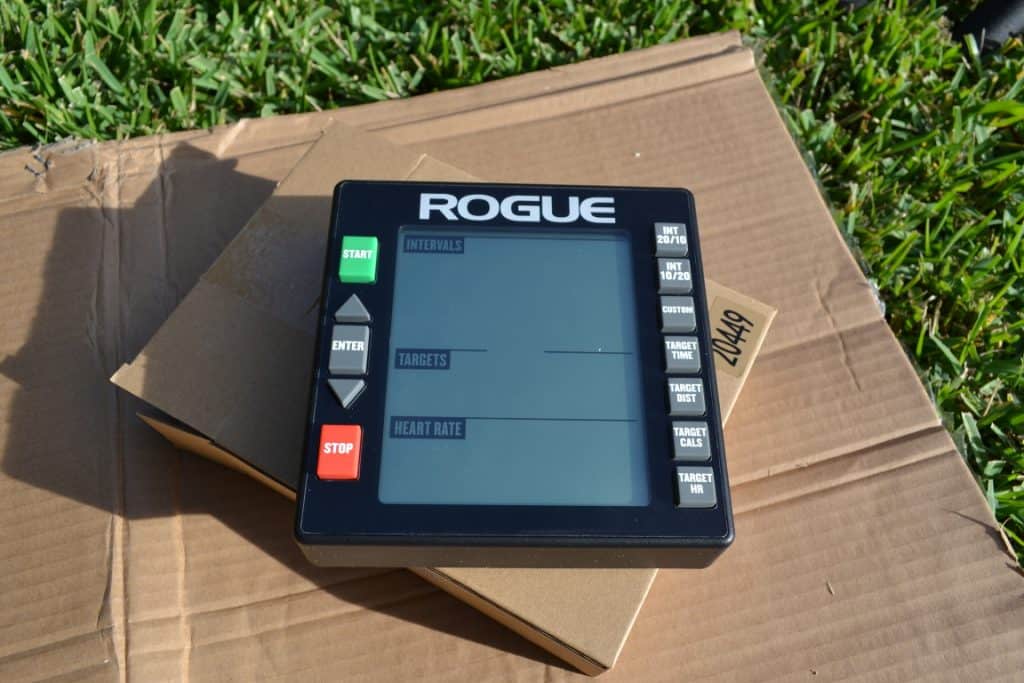
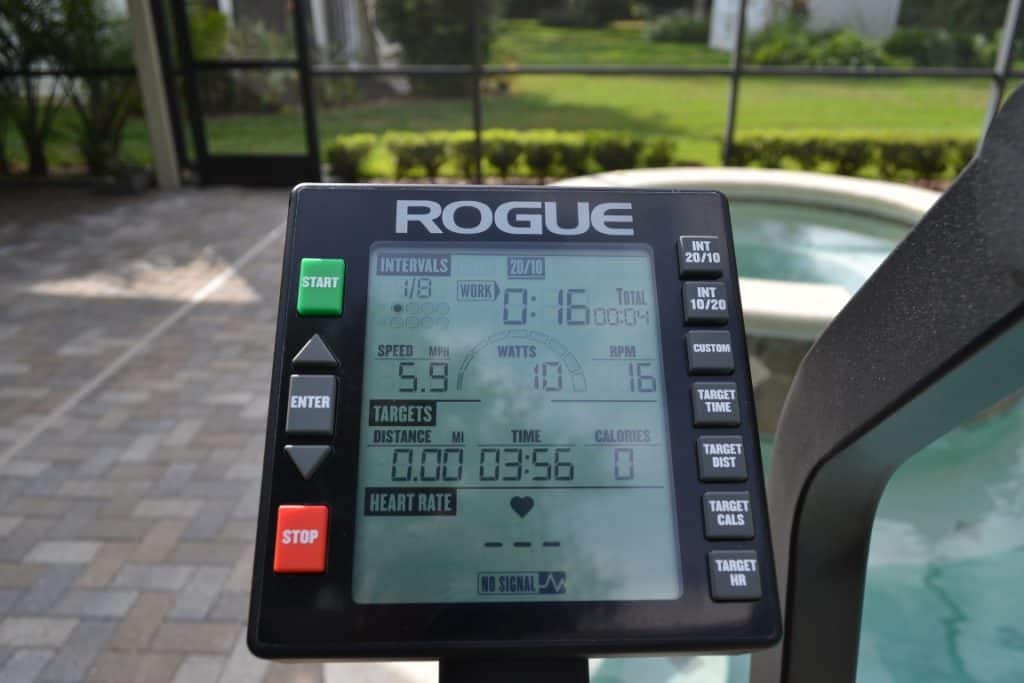
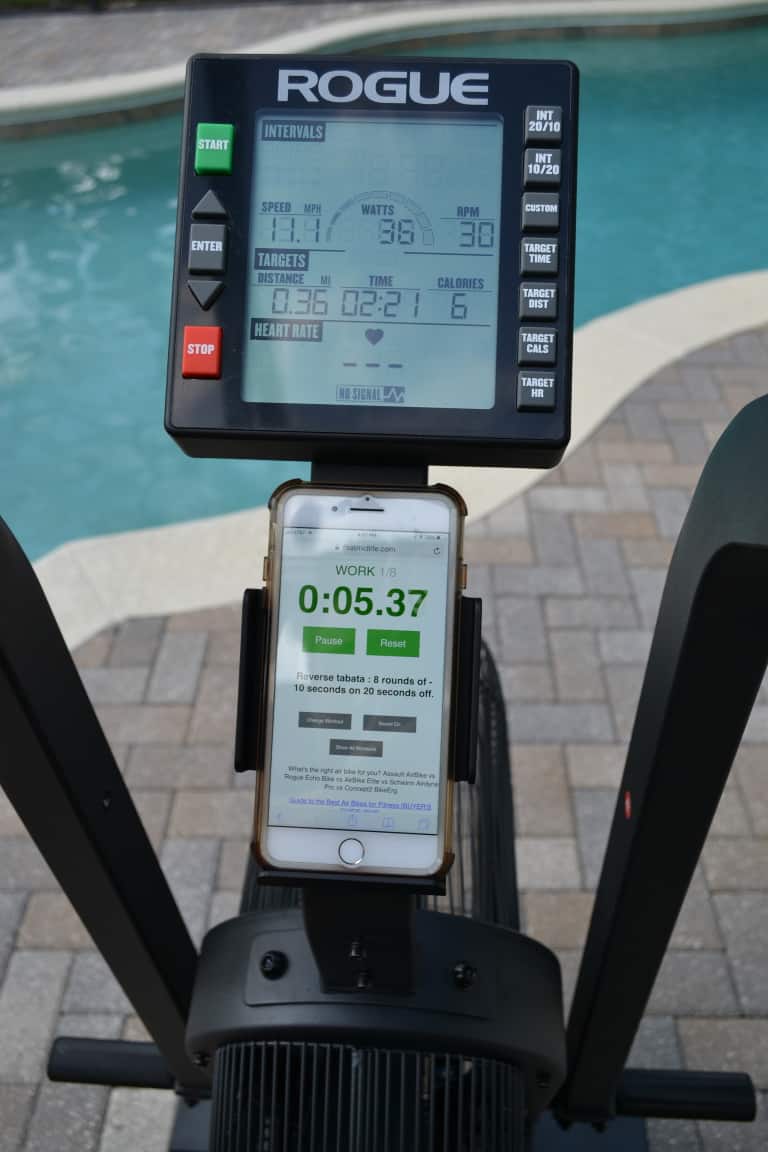
The console is easy to use.
There are various modes including target distance, calories, time, and heart rate (which requires a not-included heart rate transmitter).
You can also use the built-in Tabata style 20/10 or 10/20 intervals – or program your own using the “Custom” button.
My only complaint? The LCD console display is not backlit. You can’t see it at night, without a light source.
In comparison, the PM5 monitor on the Concept 2 line of equipment (such as the Concept D rower and Bike Erg) is backlit, and can be viewed in darkness – which is helpful for home and garage gyms, which are sometimes poorly lit.
Overall, this is a great piece of fitness equipment.
I’ll be leaving mine poolside, at least through the rest of Florida winter.
Rogue Echo Bike Phone Holder Installation
I like the wind made by the Echo Bike, so I’ve skipped the Rogue Wind Guard.
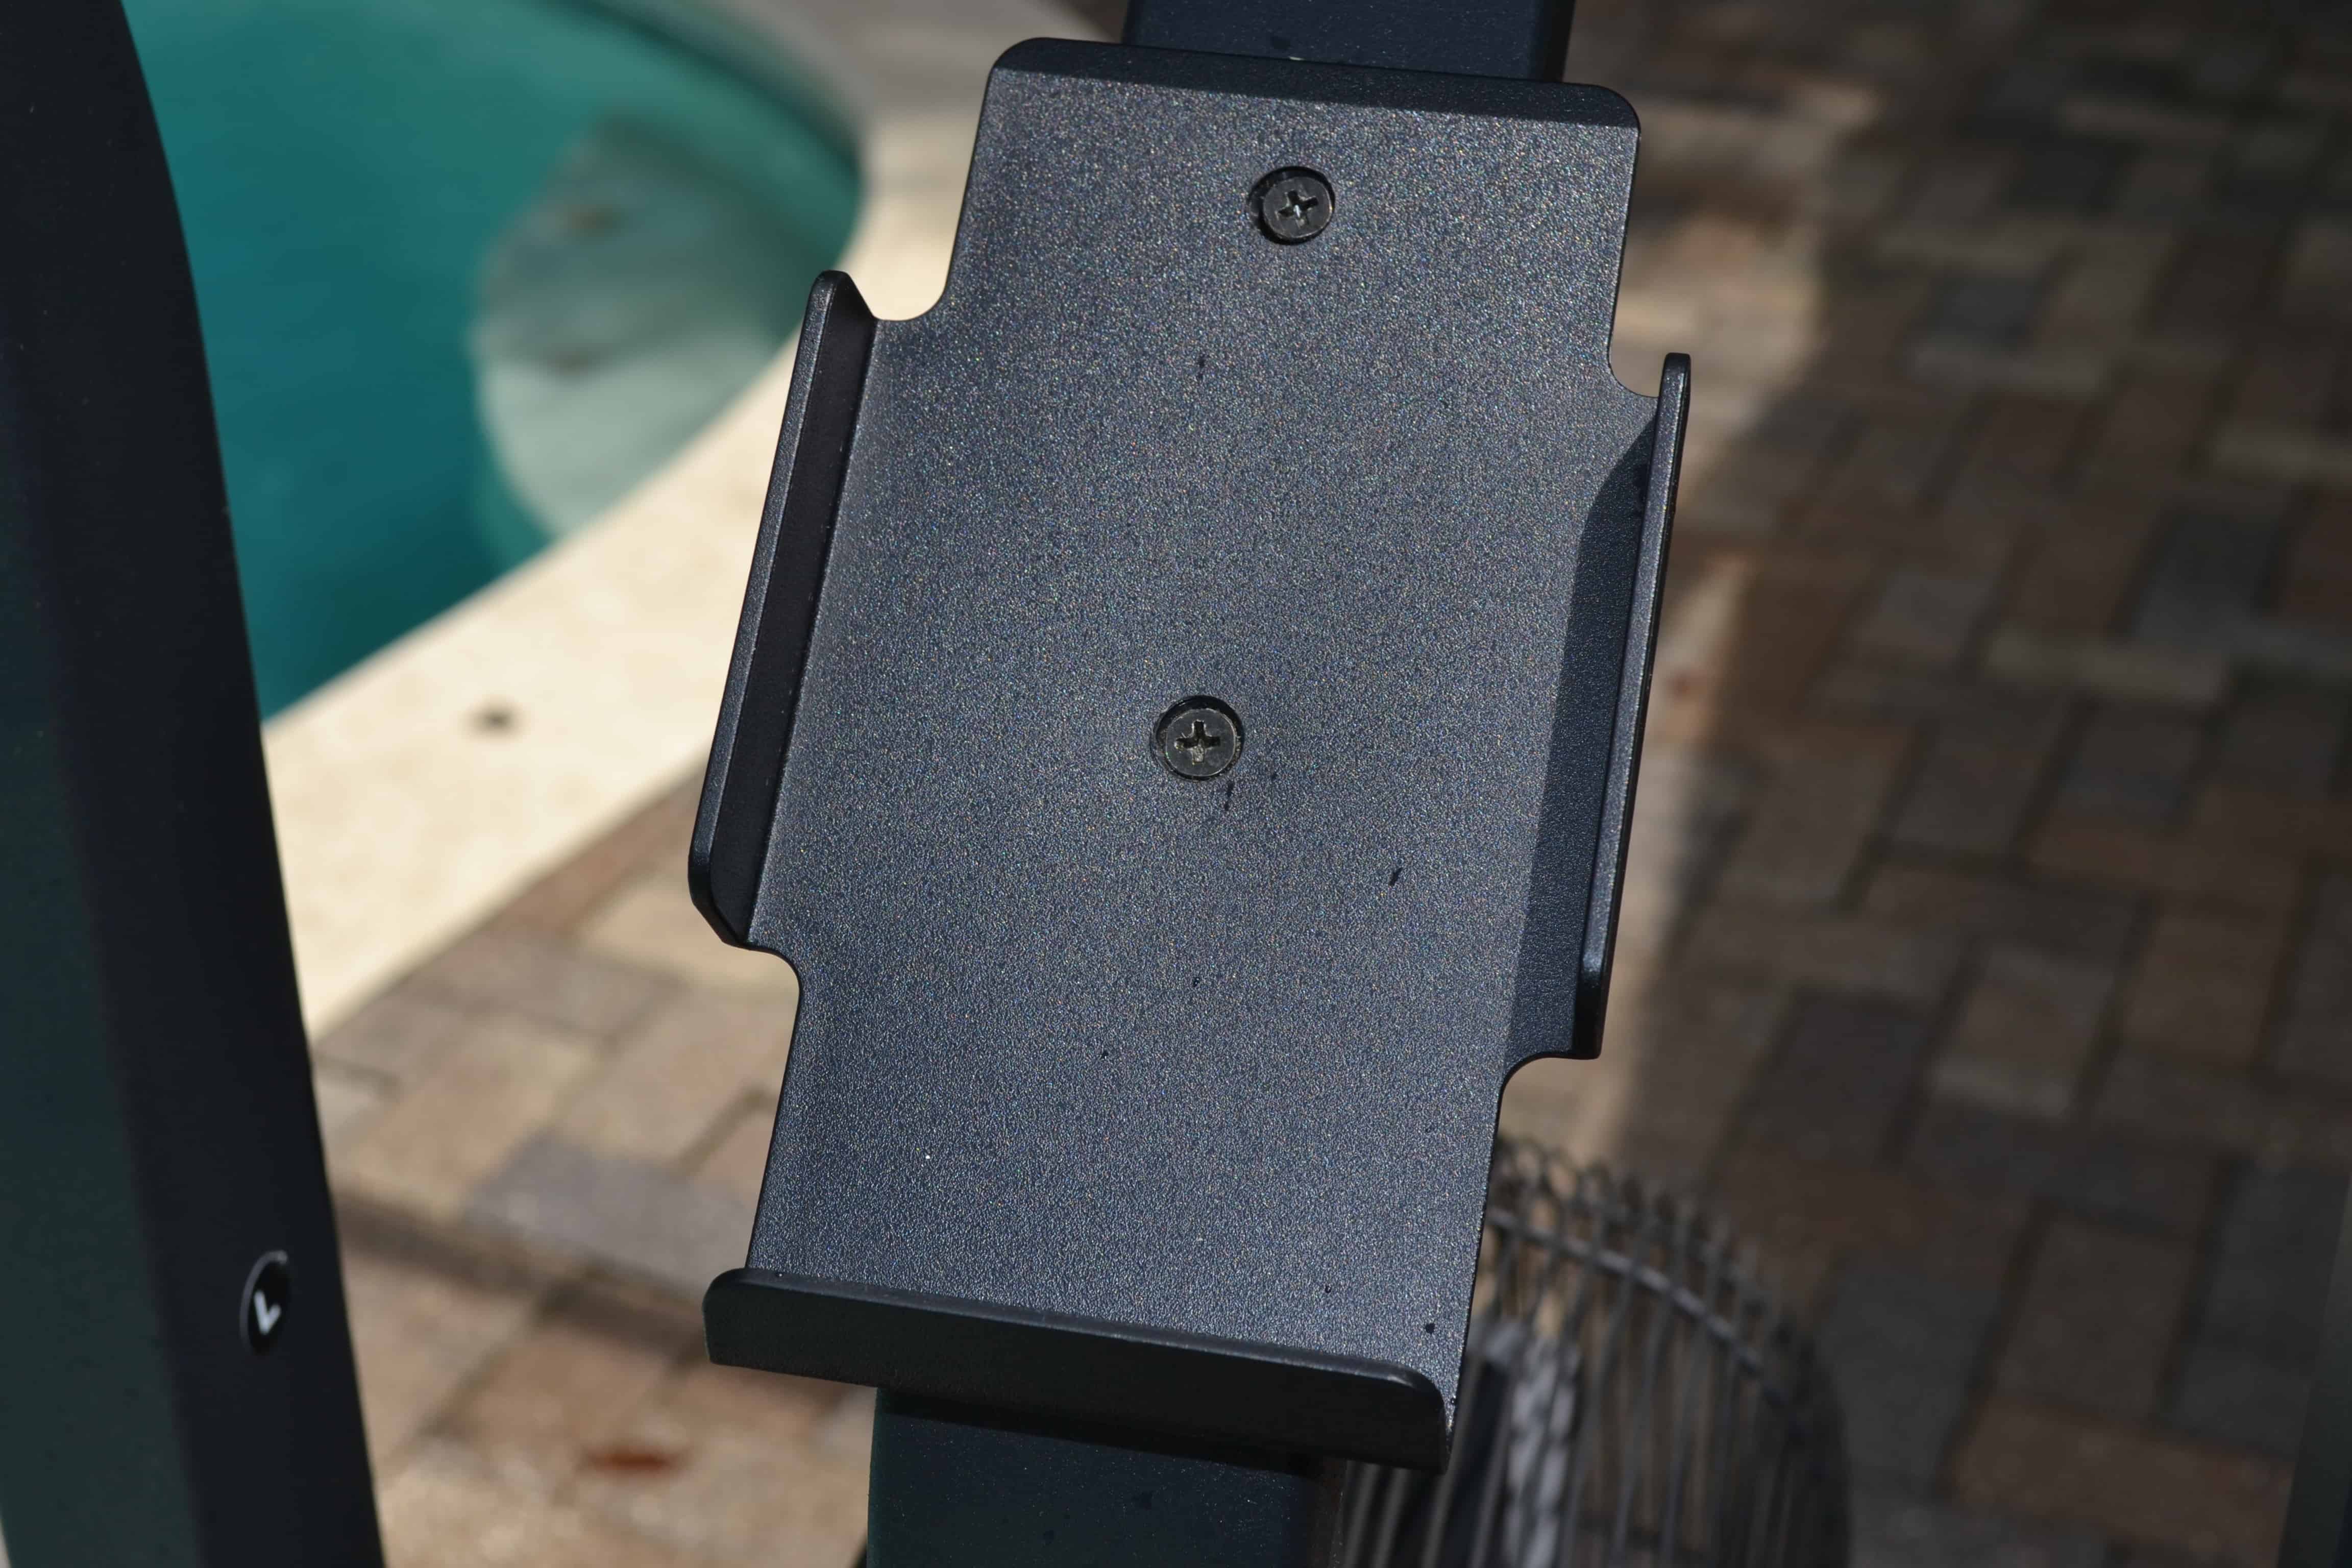
But I heartily recommend the Rogue Bike Phone Holder.
This simple $5 accessory gives you a secure place to put your smartphone while pedaling.
It’s a well made, robust piece of plastic and holds any size phone securely. Shown below is an iPhone 7 Plus – so that means it’ll fit any of the newer iPhones as well.
The Echo Bike Phone Holder is attached with two simple screws.
By the way, that app that is running is our awesome Air Bike Workouts web page – which will randomly give you one of 28 ass-kicking Echo Bike workouts.
It’s even got a built in timer, so you know when to collapse.
Did I mention it’s FREE?
Rogue Echo Bike Wind Guard
As mentioned above, I’m not going to be installing the Rogue Echo Bike Wind Guard.
But, here’s what it would look like if I did.
In Summary
Can’t get enough air bike?
Check out our 28 awesome assault bike workouts.
Or, read the guide to the best air bikes – we tell you what to look for in the best air bike (HINT: Rogue Echo).
Photo and Image Credits
- The Rogue Fitness logo and some product imagery on this page is property of Rogue Fitness and provided by Rogue Fitness.
- This website is not affiliated or associated with CrossFit, Inc. CrossFit is a registered trademark of CrossFit, Inc.

Tim is the founder of FitAtMidlife.com – an avid gym rat for 30+ years, he’s a reviewer of many, many shoes – and founder of the Speed Bag Gathering – the world’s only gathering of speed bag punching enthusiasts. See more gym reviews at Tim’s YouTube channel.


not really im 5’2 and i struggle at times to reach the pedals. im currently looking at swapping the pedals out for clip in and hoping it will help me out
Hi – It’s been poolside for 8 months now – and we’re right in the middle of Florida rainy season. It works just fine. We have lots of humidity here, but I obviously don’t let it get rained on – I keep it under the porch. I think it’ll be fine.
I’m wondering if you ended up leaving it out next to the pool during your winter season and if so what are your observations with how the machine and electronics are holding up. I live in California and we don’t have much space so thinking about leaving it out during our dry summer season and then living with it in my home office during the winter rainy season.
Hi. I’m currently desperately trying to mount it, but I have 2 pbs:
1. I can’t screw the left footrest tube
2. I don’t understand how to secure both arms, in the last step, using the provided screws.
Could you help? Thank you 🙂
Unfortunately I didn’t measure the box, and Rogue doesn’t seem to have that information available online.
Can you tell me what were the shipping dimensions of the box?
Hi – The Echo bike seat, in it’s lowest position is about 33.5″ off the ground, however the handles, being fixed, are still at 49″ or so off the ground. Is the position of the handles the issue? Have you looked at the Schwinn Airdyne Pro that has the multi grip handles? (One handle is “high” and the other is lower. Tim
I am 5 feet tall, and the assault bike was too big for me. I was wondering if the echo bike adjusted to fit a 5 feet gal!